Transfer EasyWorship Profile
Modified on: Wed, 13 May, 2026 at 11:46 AM
When upgrading or changing computers, it's helpful to be able to transfer your existing database to the new computer.
The EasyWorship Profile Transfer Tool was designed to make this process easy. Use a flash drive (memory stick/USB drive) to transfer the database over to the new computer.
Downloading the Profile Transfer Tool
Follow the steps below to download the Profile Transfer Tool and transfer your profile from one computer to another:
- Make sure the EasyWorship program is closed.
- Connect the flash drive to the computer you are backing up from.
- Download the Profile Transfer Tool.
IMPORTANT: If you are transferring your profile from Windows to Mac, or vice-versa, you will need to download both the Windows and Mac files below and put them on your flash drive. If the download doesn't begin, click here.
 If the download doesn't begin, click here.
 - Windows: Move the file you just downloaded from your Downloads folder to your flash drive.
Mac: Move the file you just downloaded from Downloads within the Finder application to your flash drive.
Backing Up Profiles (Export Profiles)
- Make sure the EasyWorship program is closed.
- Browse to the flash drive you are backing up to and open the EasyWorship Profile Transfer tool.
- Select the profile or profiles you want to export to the backup drive.
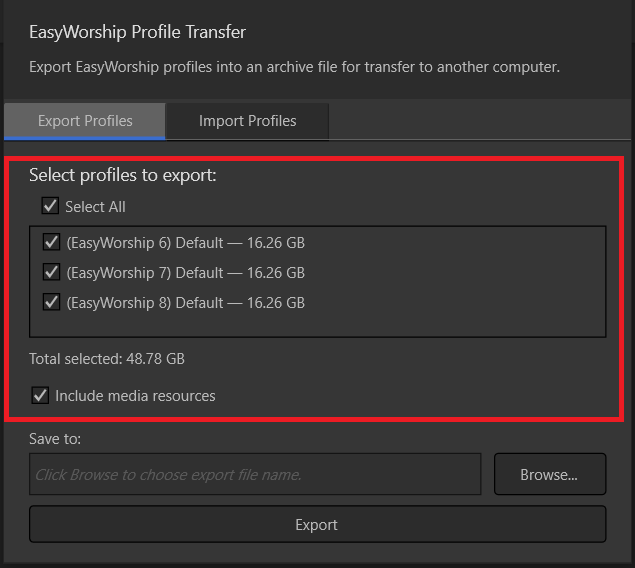
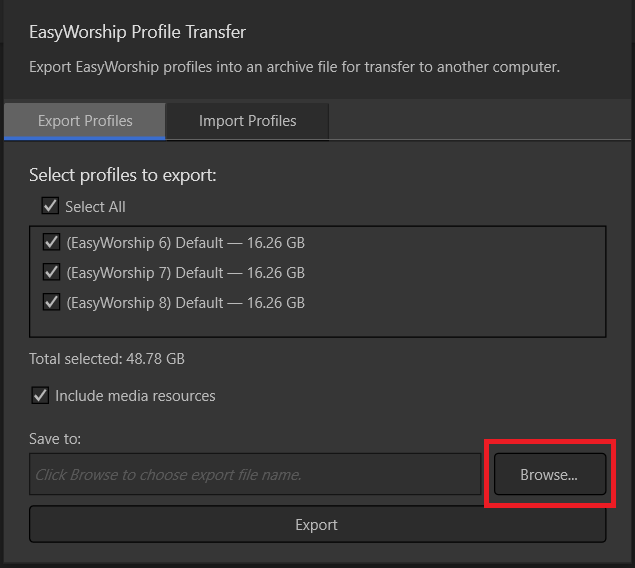
- Click Browse, select your flash drive, and click Save.
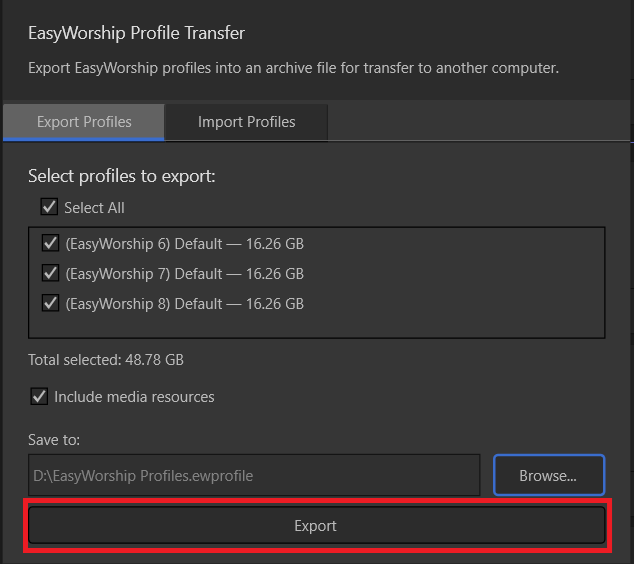
- Click Export and then close the window when it is complete.
Restoring Profiles (Import Profiles)
- Make sure the EasyWorship program is closed.
- Connect the flash drive to the computer you are transferring to.
- Access your flash drive and open the EasyWorship Profile Transfer tool.
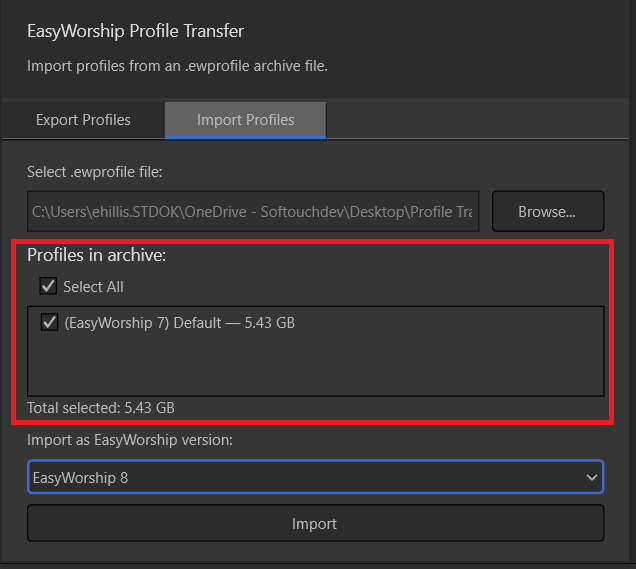
- Click the Import Profiles tab and click Browse.
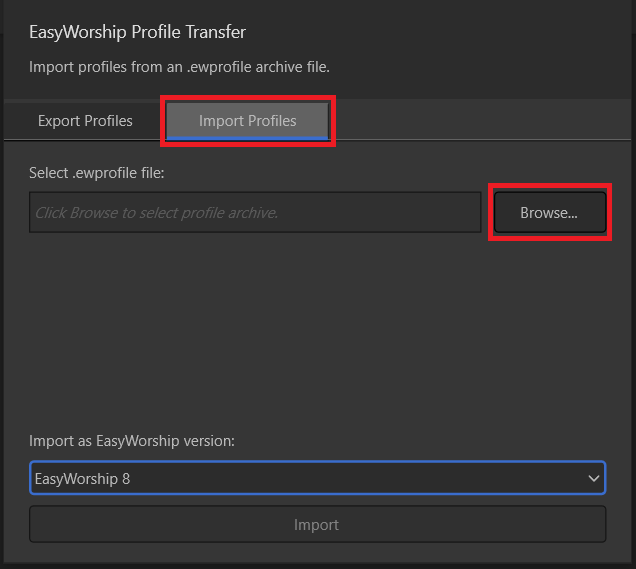
- Browse to your flash drive and select the .ewprofile file and click Open.
- Select the profile you want to import.
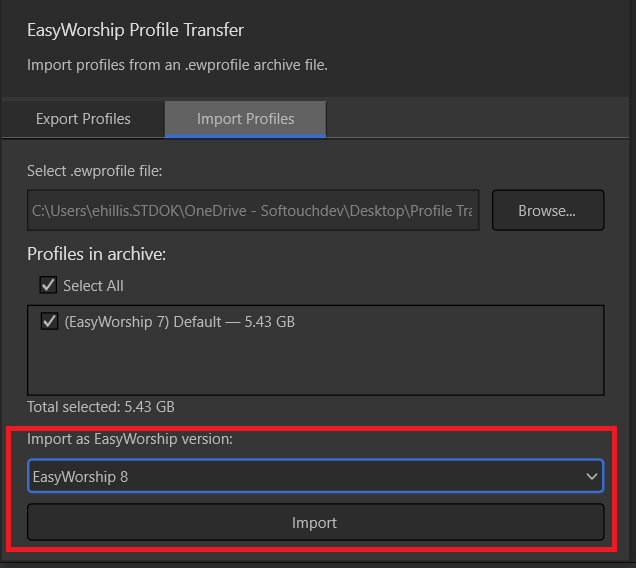
- Select what version of EasyWorship you are importing into and click Import. Close the window when it is complete.
- Open EasyWorship 8. Click on the Profiles tab at the top and in the drop-down, click on the newest profile in the list. If your profile was called Default that you imported, it may be called Default_1.
- Now the profile you imported should load and you will see all of your EasyWorship database.
If you need further assistance, please contact EasyWorship Support.